21 Sept 2026
Cyanotype: why the image goes in negative (and how to prepare your acetate step by step)
The cyanotype is one of the oldest photographic processes still alive today. It was developed by the astronomer John Herschel in 1842, and Anna Atkins used it soon after to create what is considered the first book illustrated with photographs: a collection of British algae printed in that unmistakable blue.
What the cyanotype is
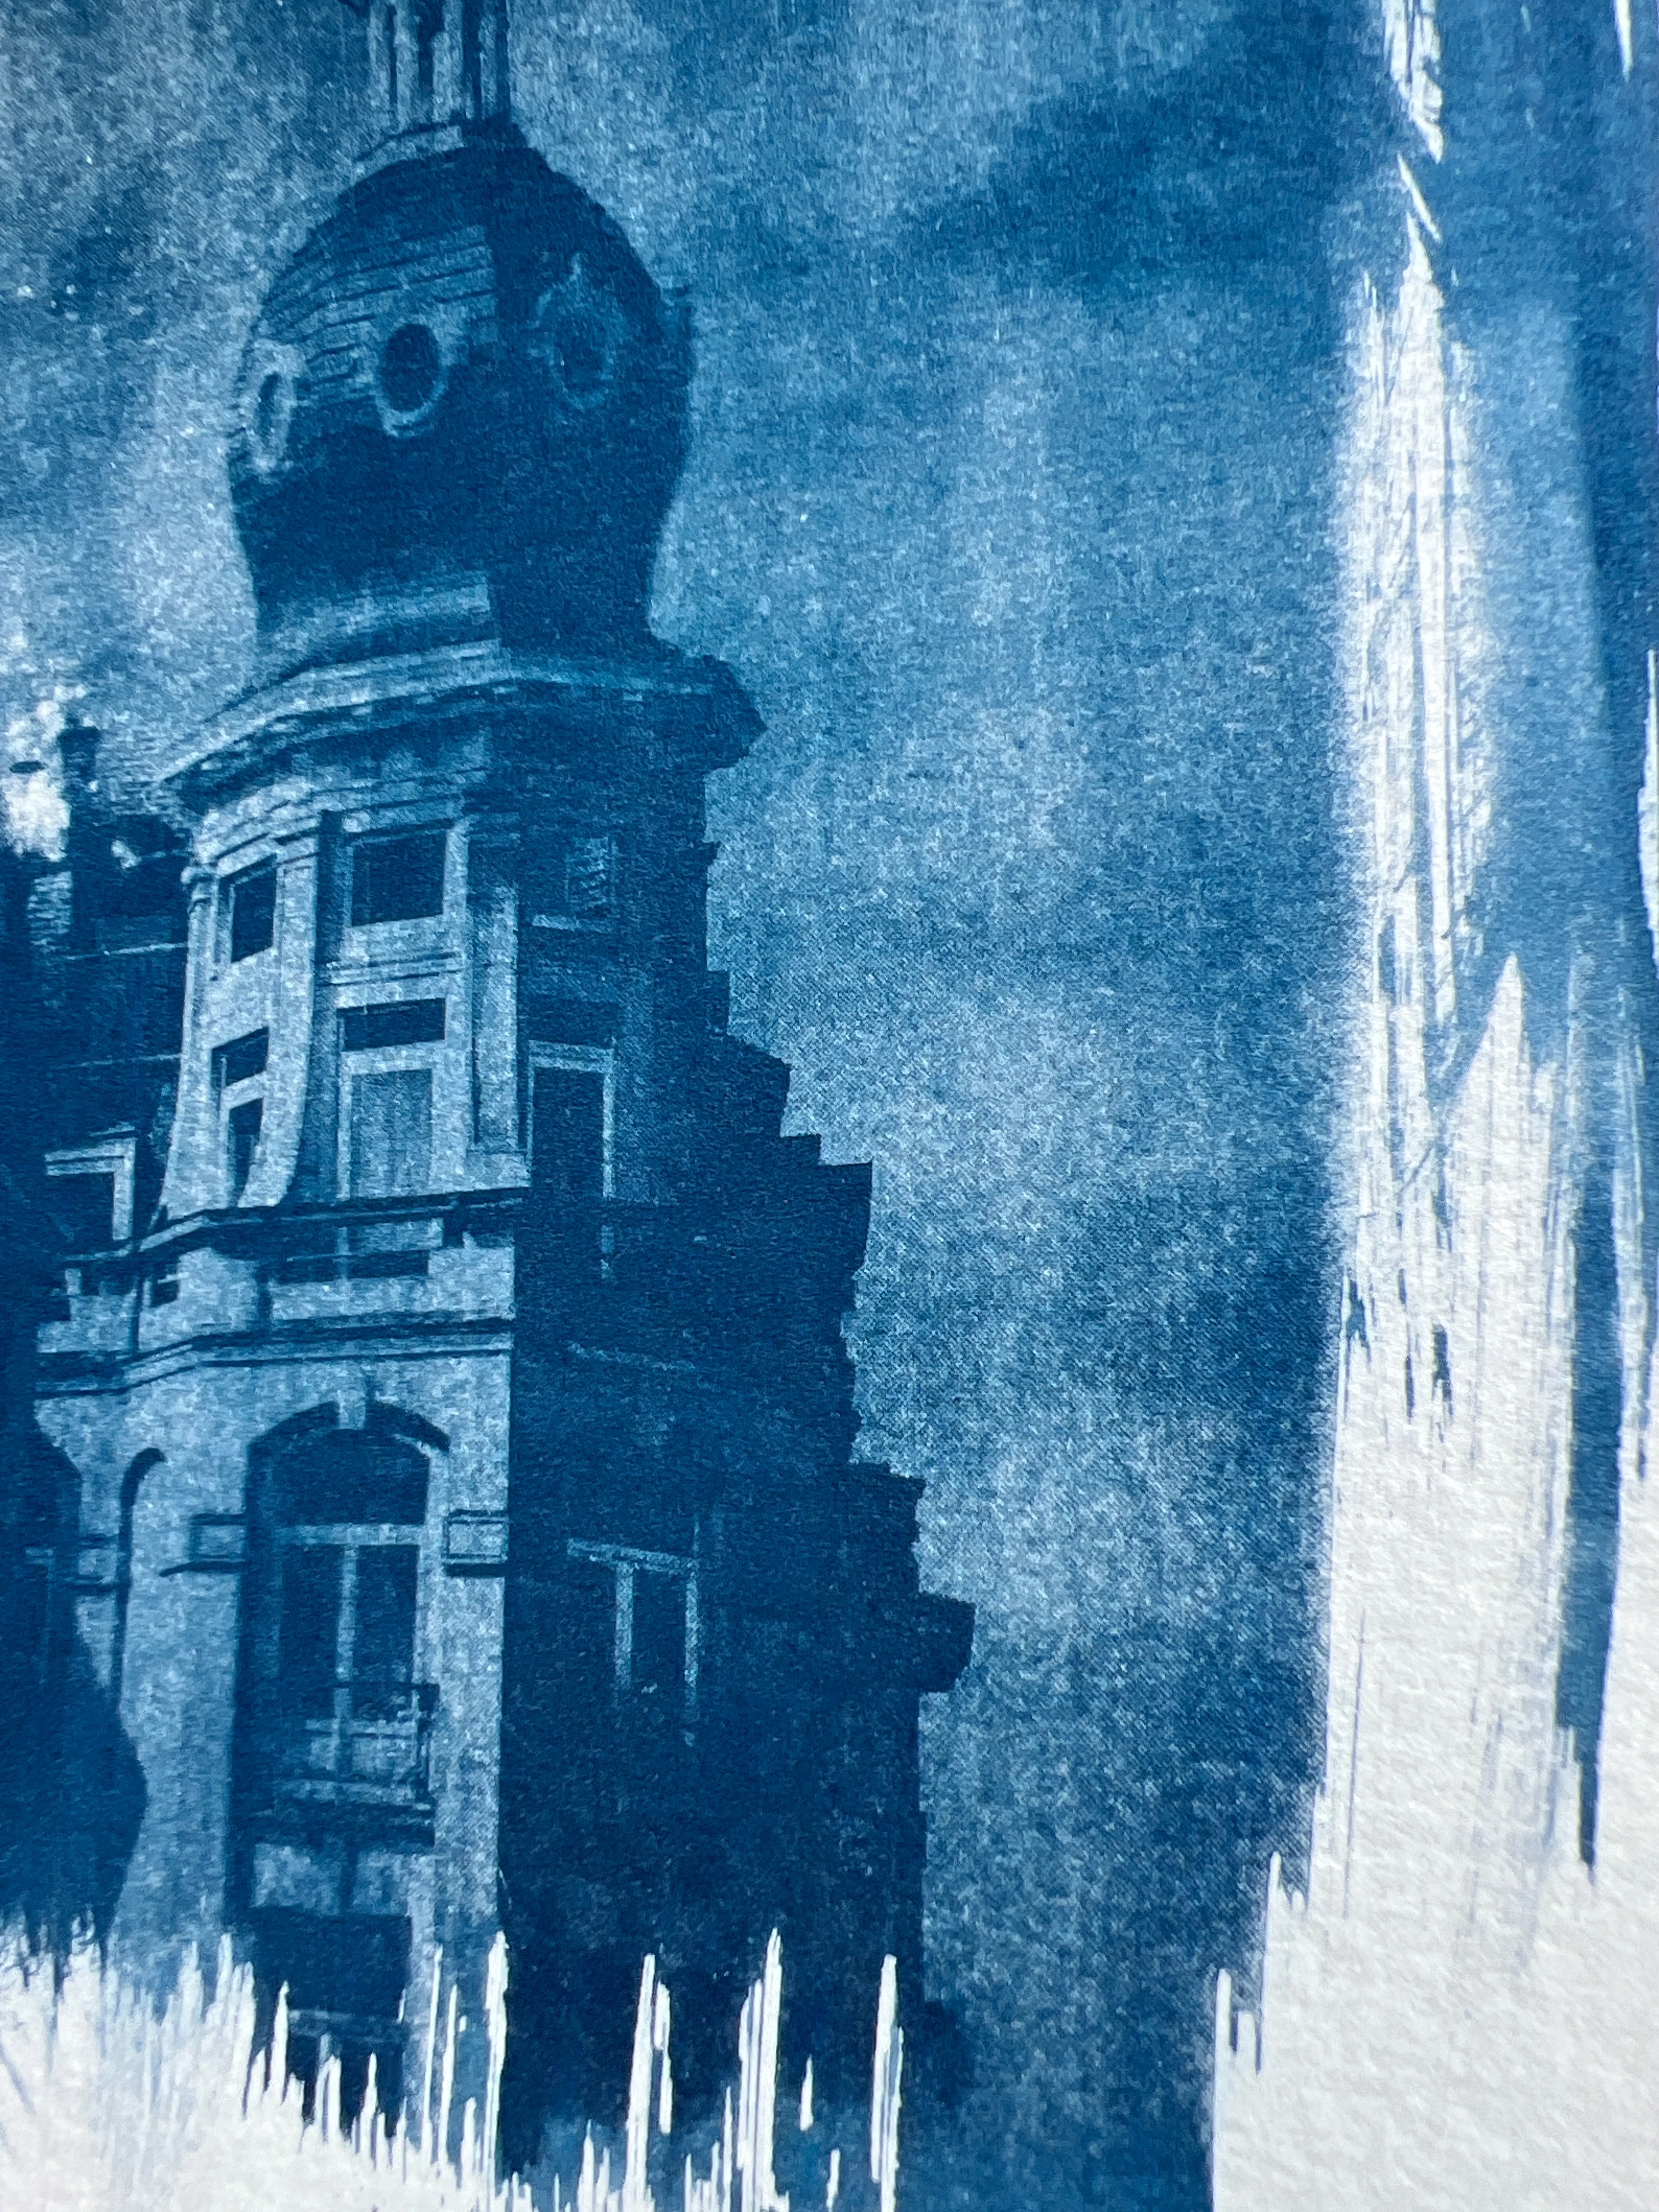
The principle is simple. You prepare a paper (or fabric) with an emulsion of light-sensitive iron salts. When exposed to ultraviolet light —the sun is enough—, those salts react and form Prussian blue, an intense blue pigment that is insoluble in water. Whatever has not received light stays as soluble salt and washes down the drain in the final rinse. The result: where the light hit, blue. Where it didn't, white.
Why the image is used in negative
Here is the key to the whole process, and it's purely logical.
The cyanotype is a contact process: there is no enlarger, no lens, no screen. You place your printed acetate directly on top of the emulsified paper, put a sheet of glass on it so it makes good contact, and take it out into the sun. The light passes through the acetate and reaches the paper… except where there is toner.
Think of the acetate as a stencil of shadows:
- Black areas of the acetate → block the UV light → the paper doesn't react → after rinsing it stays white.
- Transparent areas of the acetate → let the UV light through → the paper reacts → it turns intense blue.
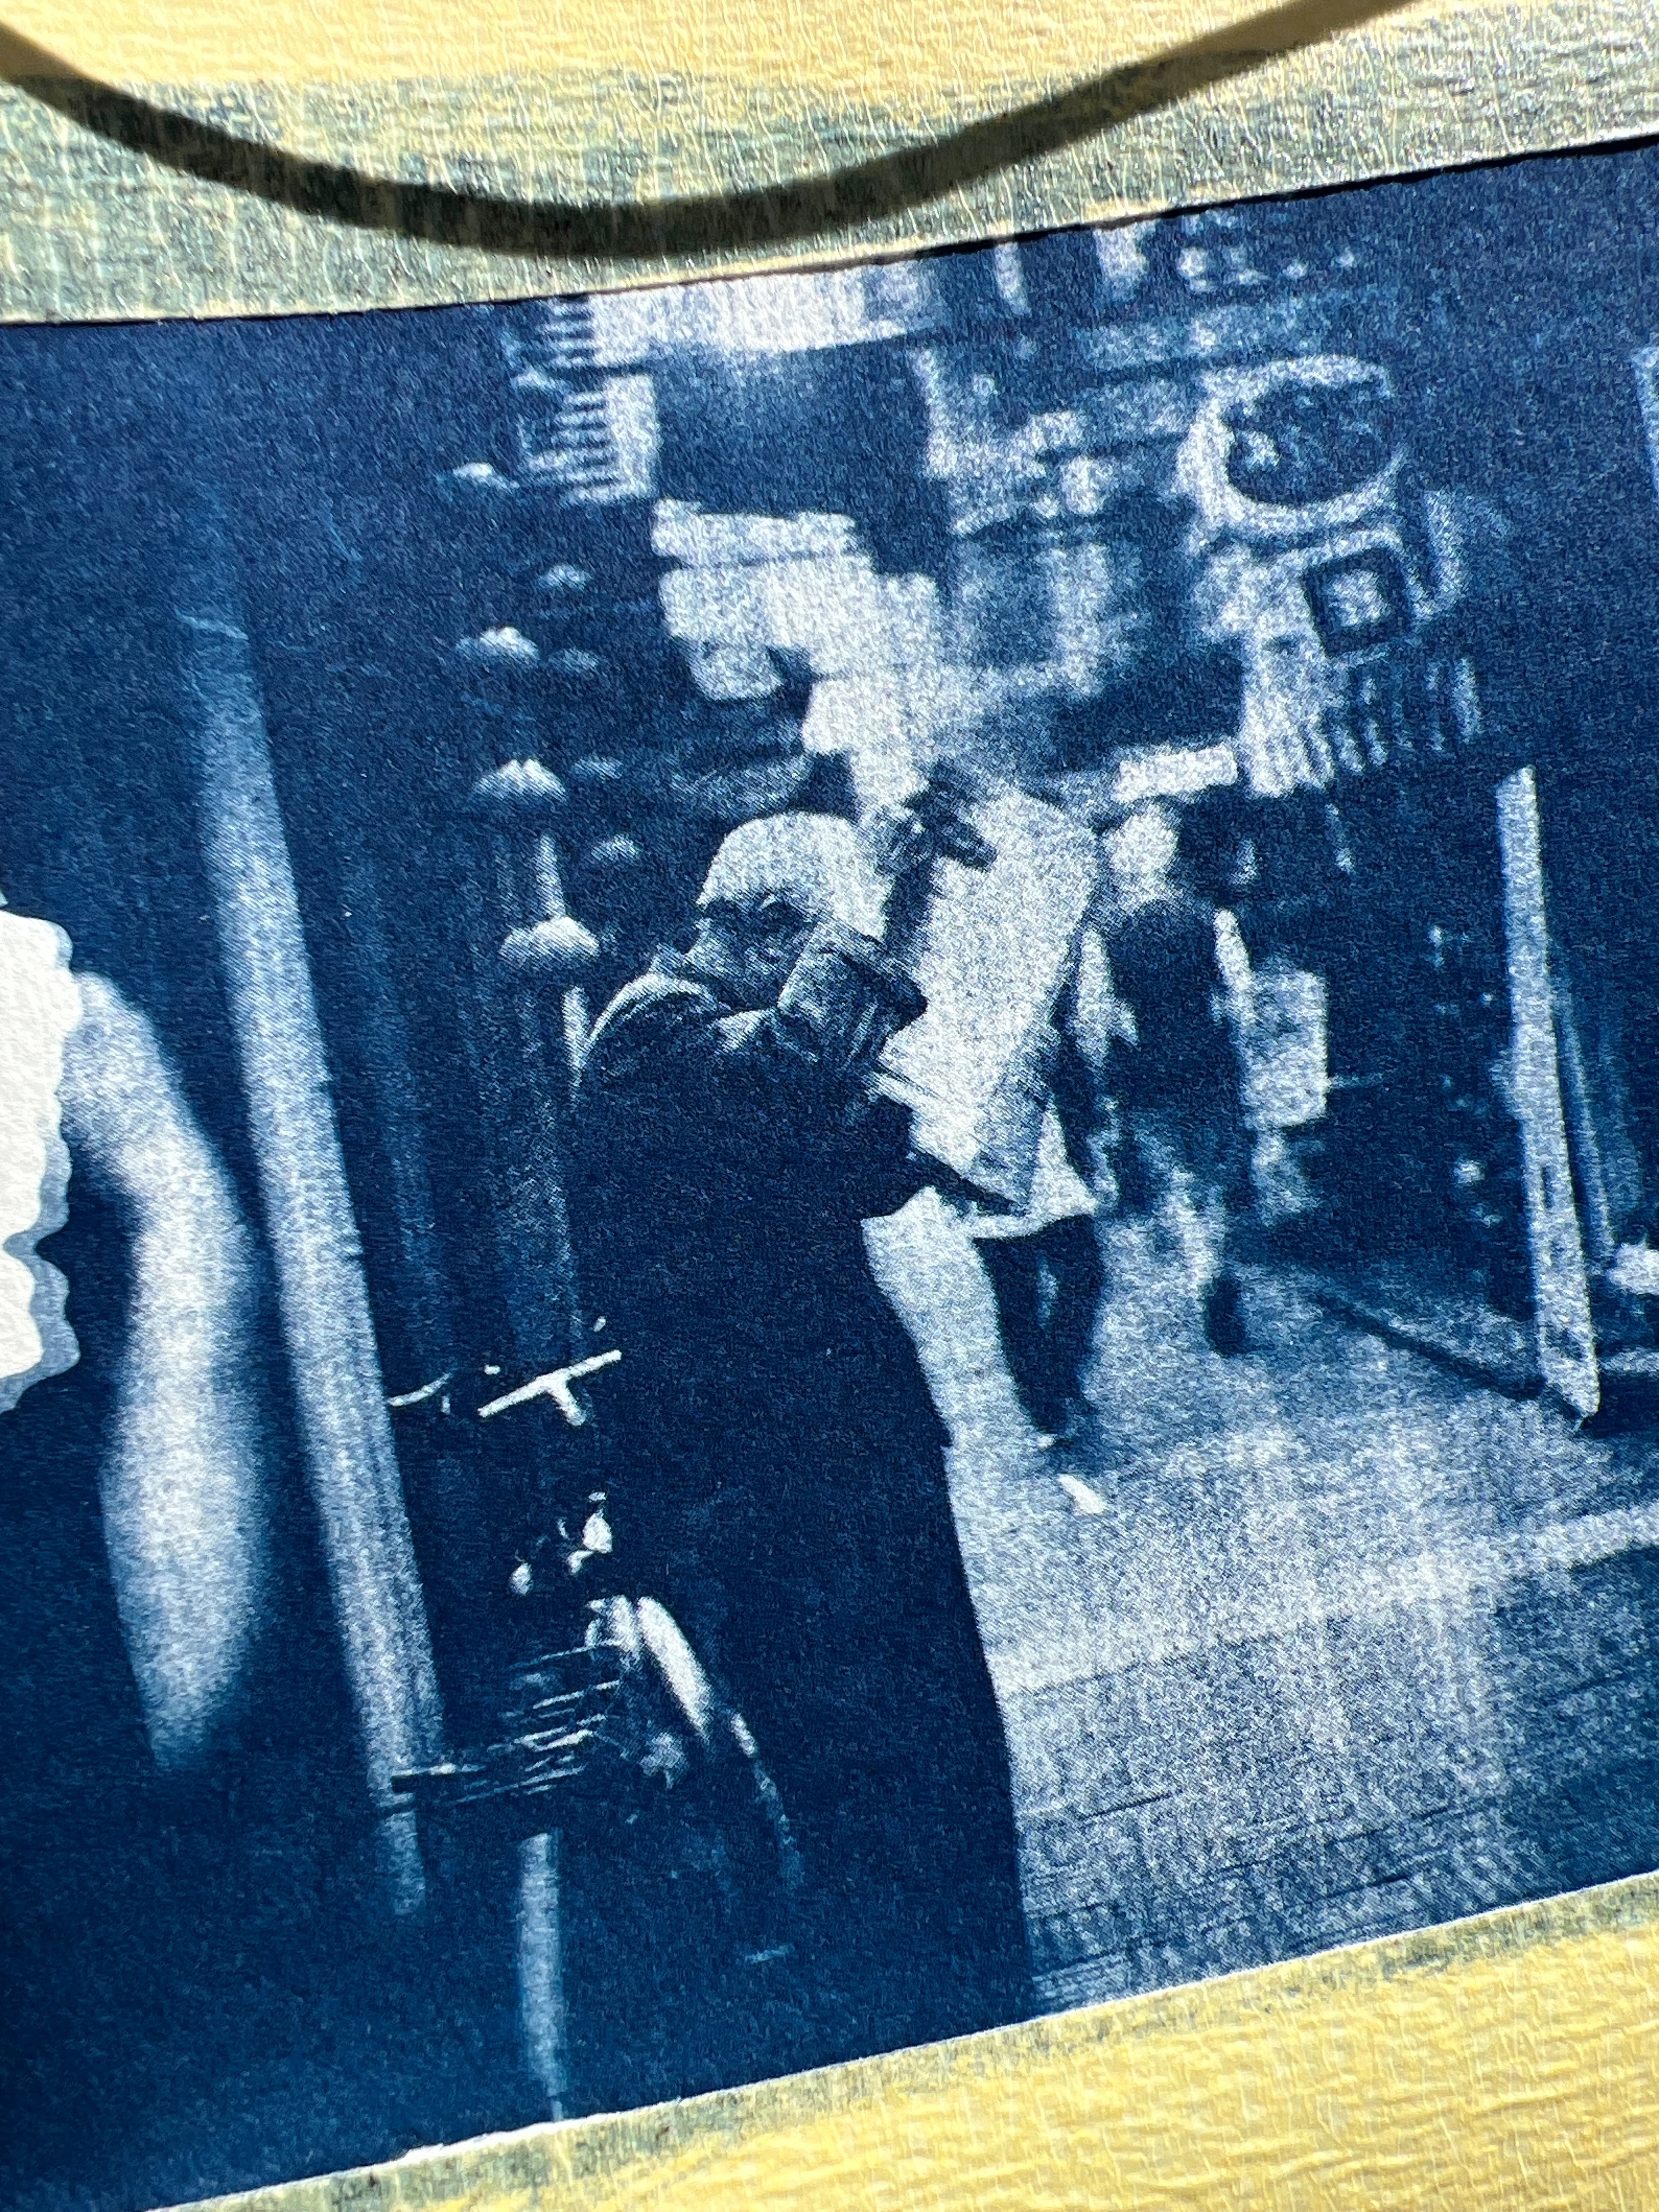
In other words, the acetate inverts whatever you put on it. If you printed the photo as it is (in positive), the shadows of the portrait would block the light and come out white, and the bright sky would turn dark blue. You'd end up with a blue negative, a ghostly, illegible image.
That's why you print the negative: two inversions in a row give a positive. You invert the image on the computer, the contact process inverts it again, and what appears on the paper is the image just as you conceived it, only in Prussian blue.
It's exactly the same logic as the good old photographic negative. The difference is that here the negative doesn't come from a roll of film: you make it yourself with a printer and a sheet of acetate.
Contrast is everything
Before you touch anything, a warning that saves a lot of failed prints: the cyanotype has a short tonal range.
A monitor shows you hundreds of levels of gray. Prussian blue does not. The emulsion tends to clog up the midtones: light grays go to white, dark grays melt into a flat blue, and the middle band where the tones truly separate is narrower than you'd imagine. All the nuance the photo had gets compressed.
On top of that, you're taking the image down to a single color. If the original relied on color contrast —a red shirt against a green background, for example—, that contrast disappears completely when you convert to grays. Two very different colors can have the same luminosity and turn into the exact same gray.
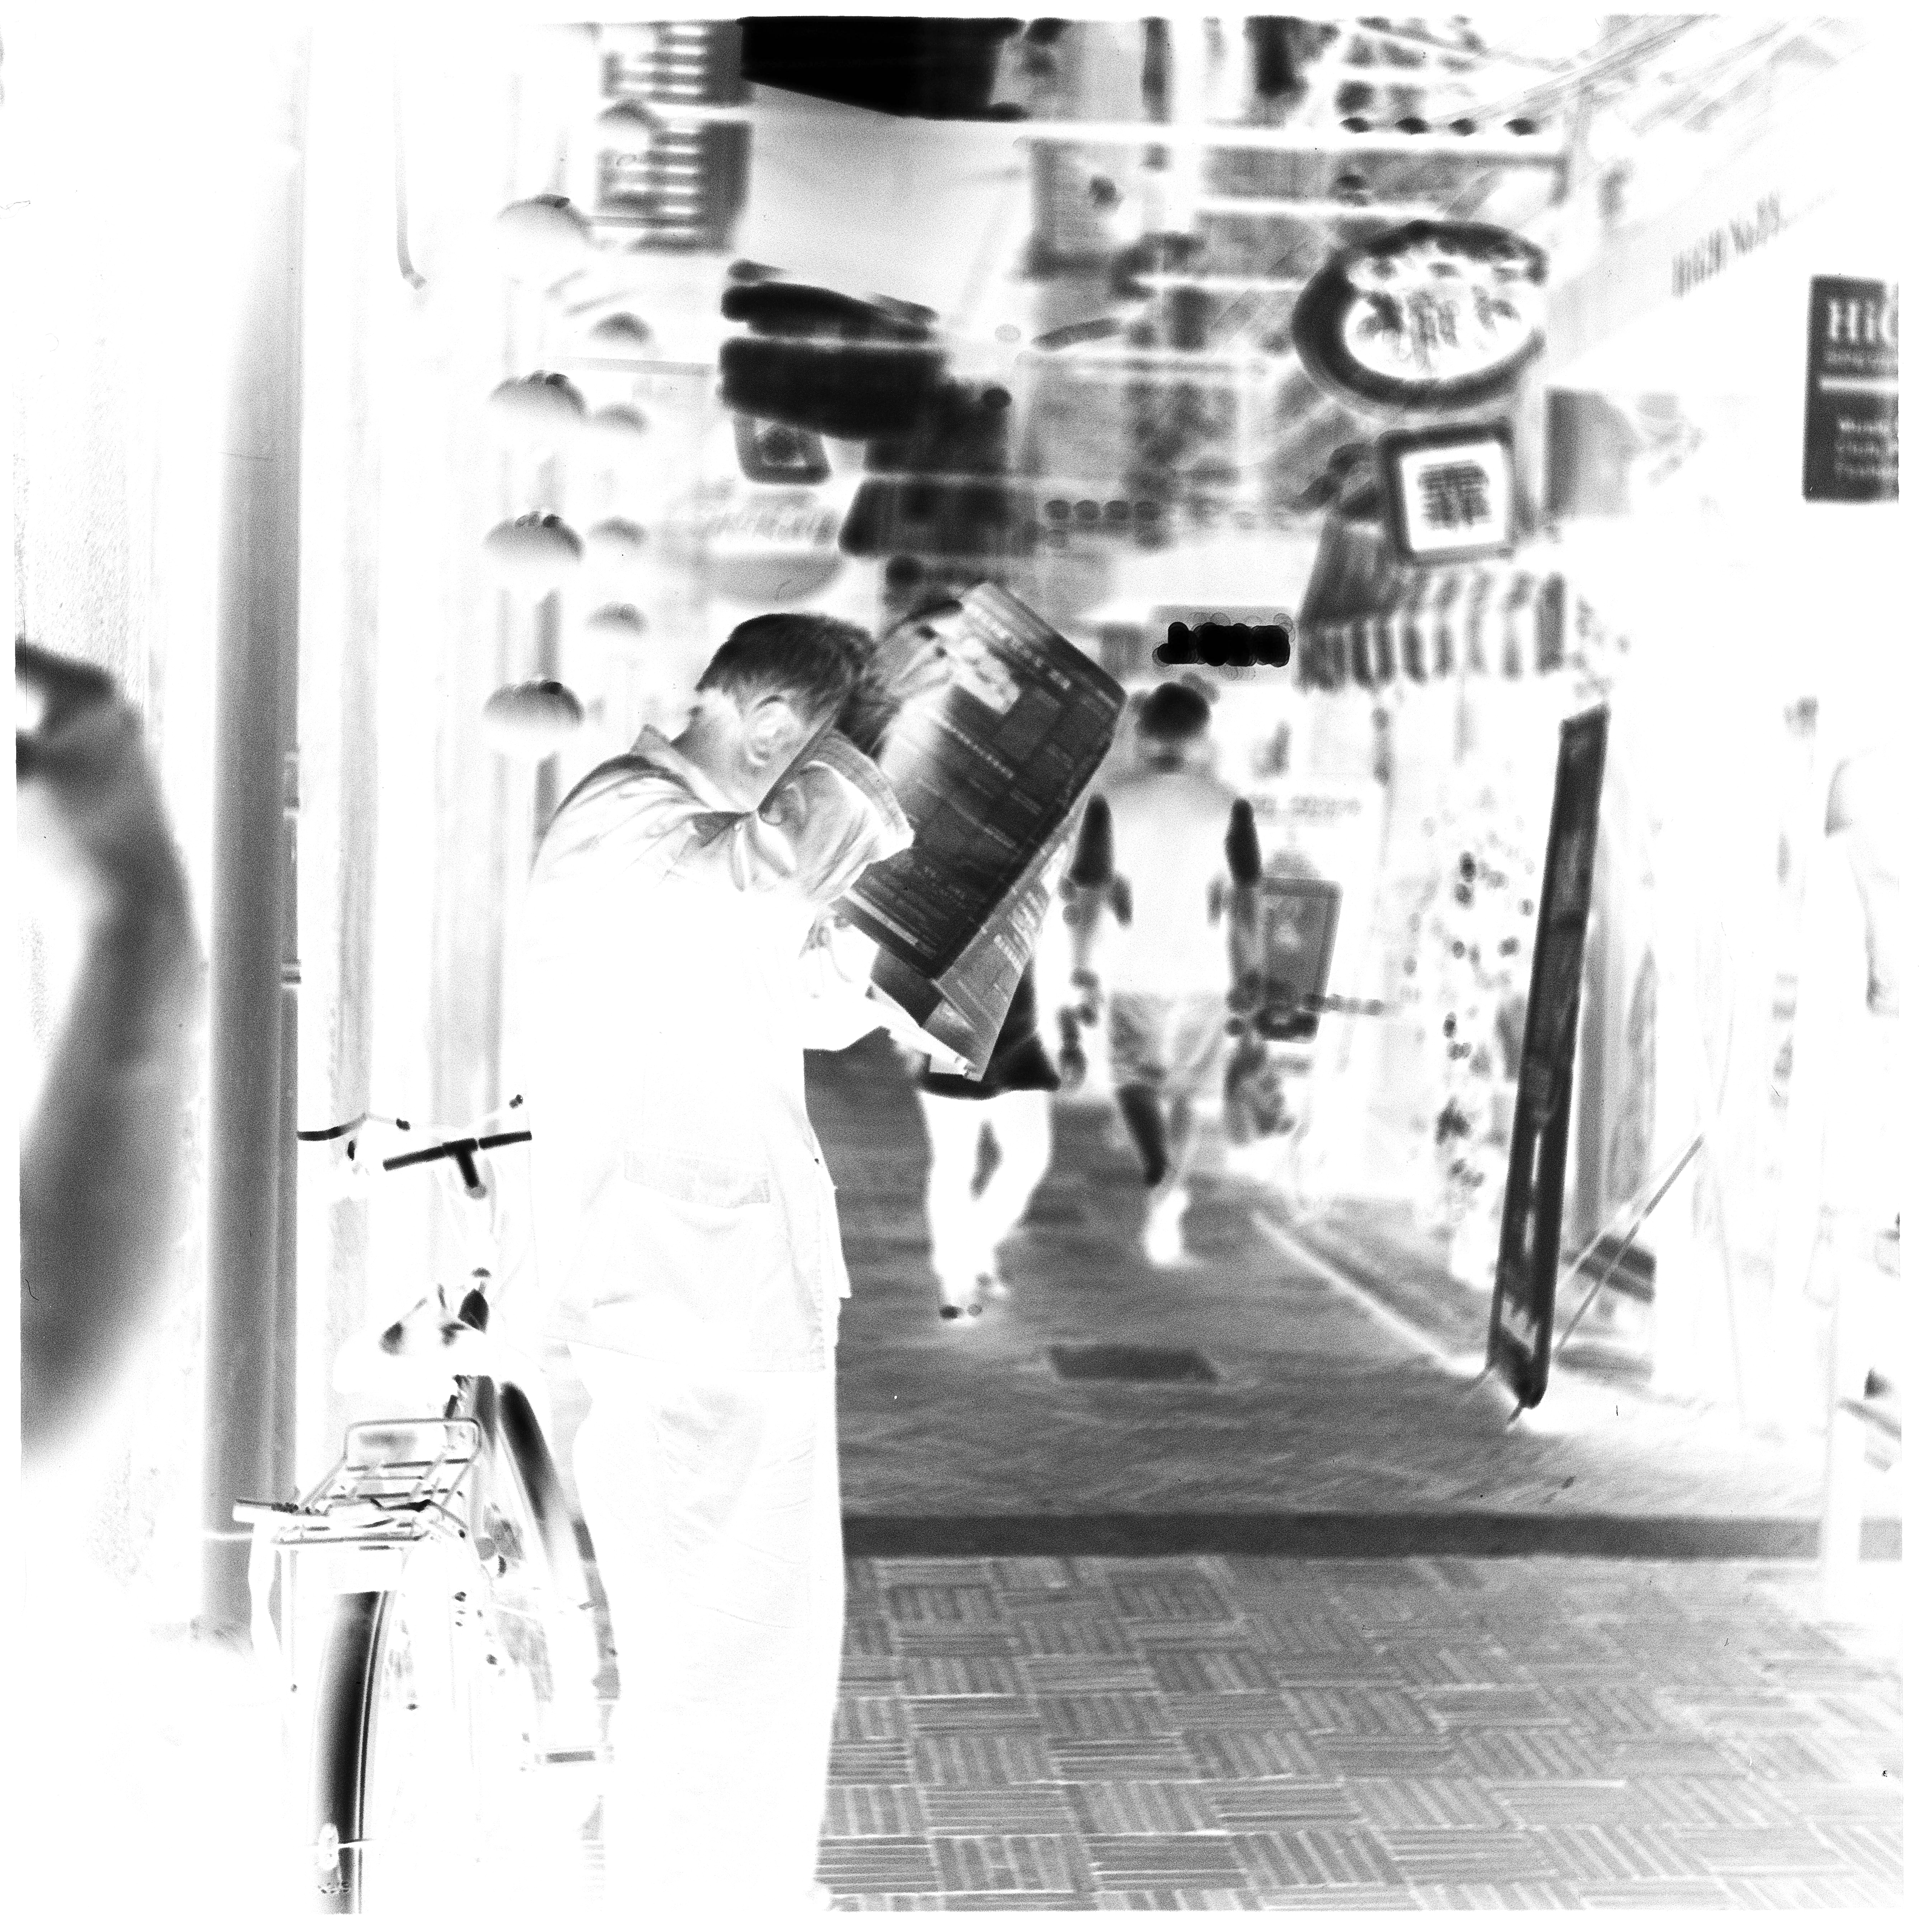
What this means in practice:
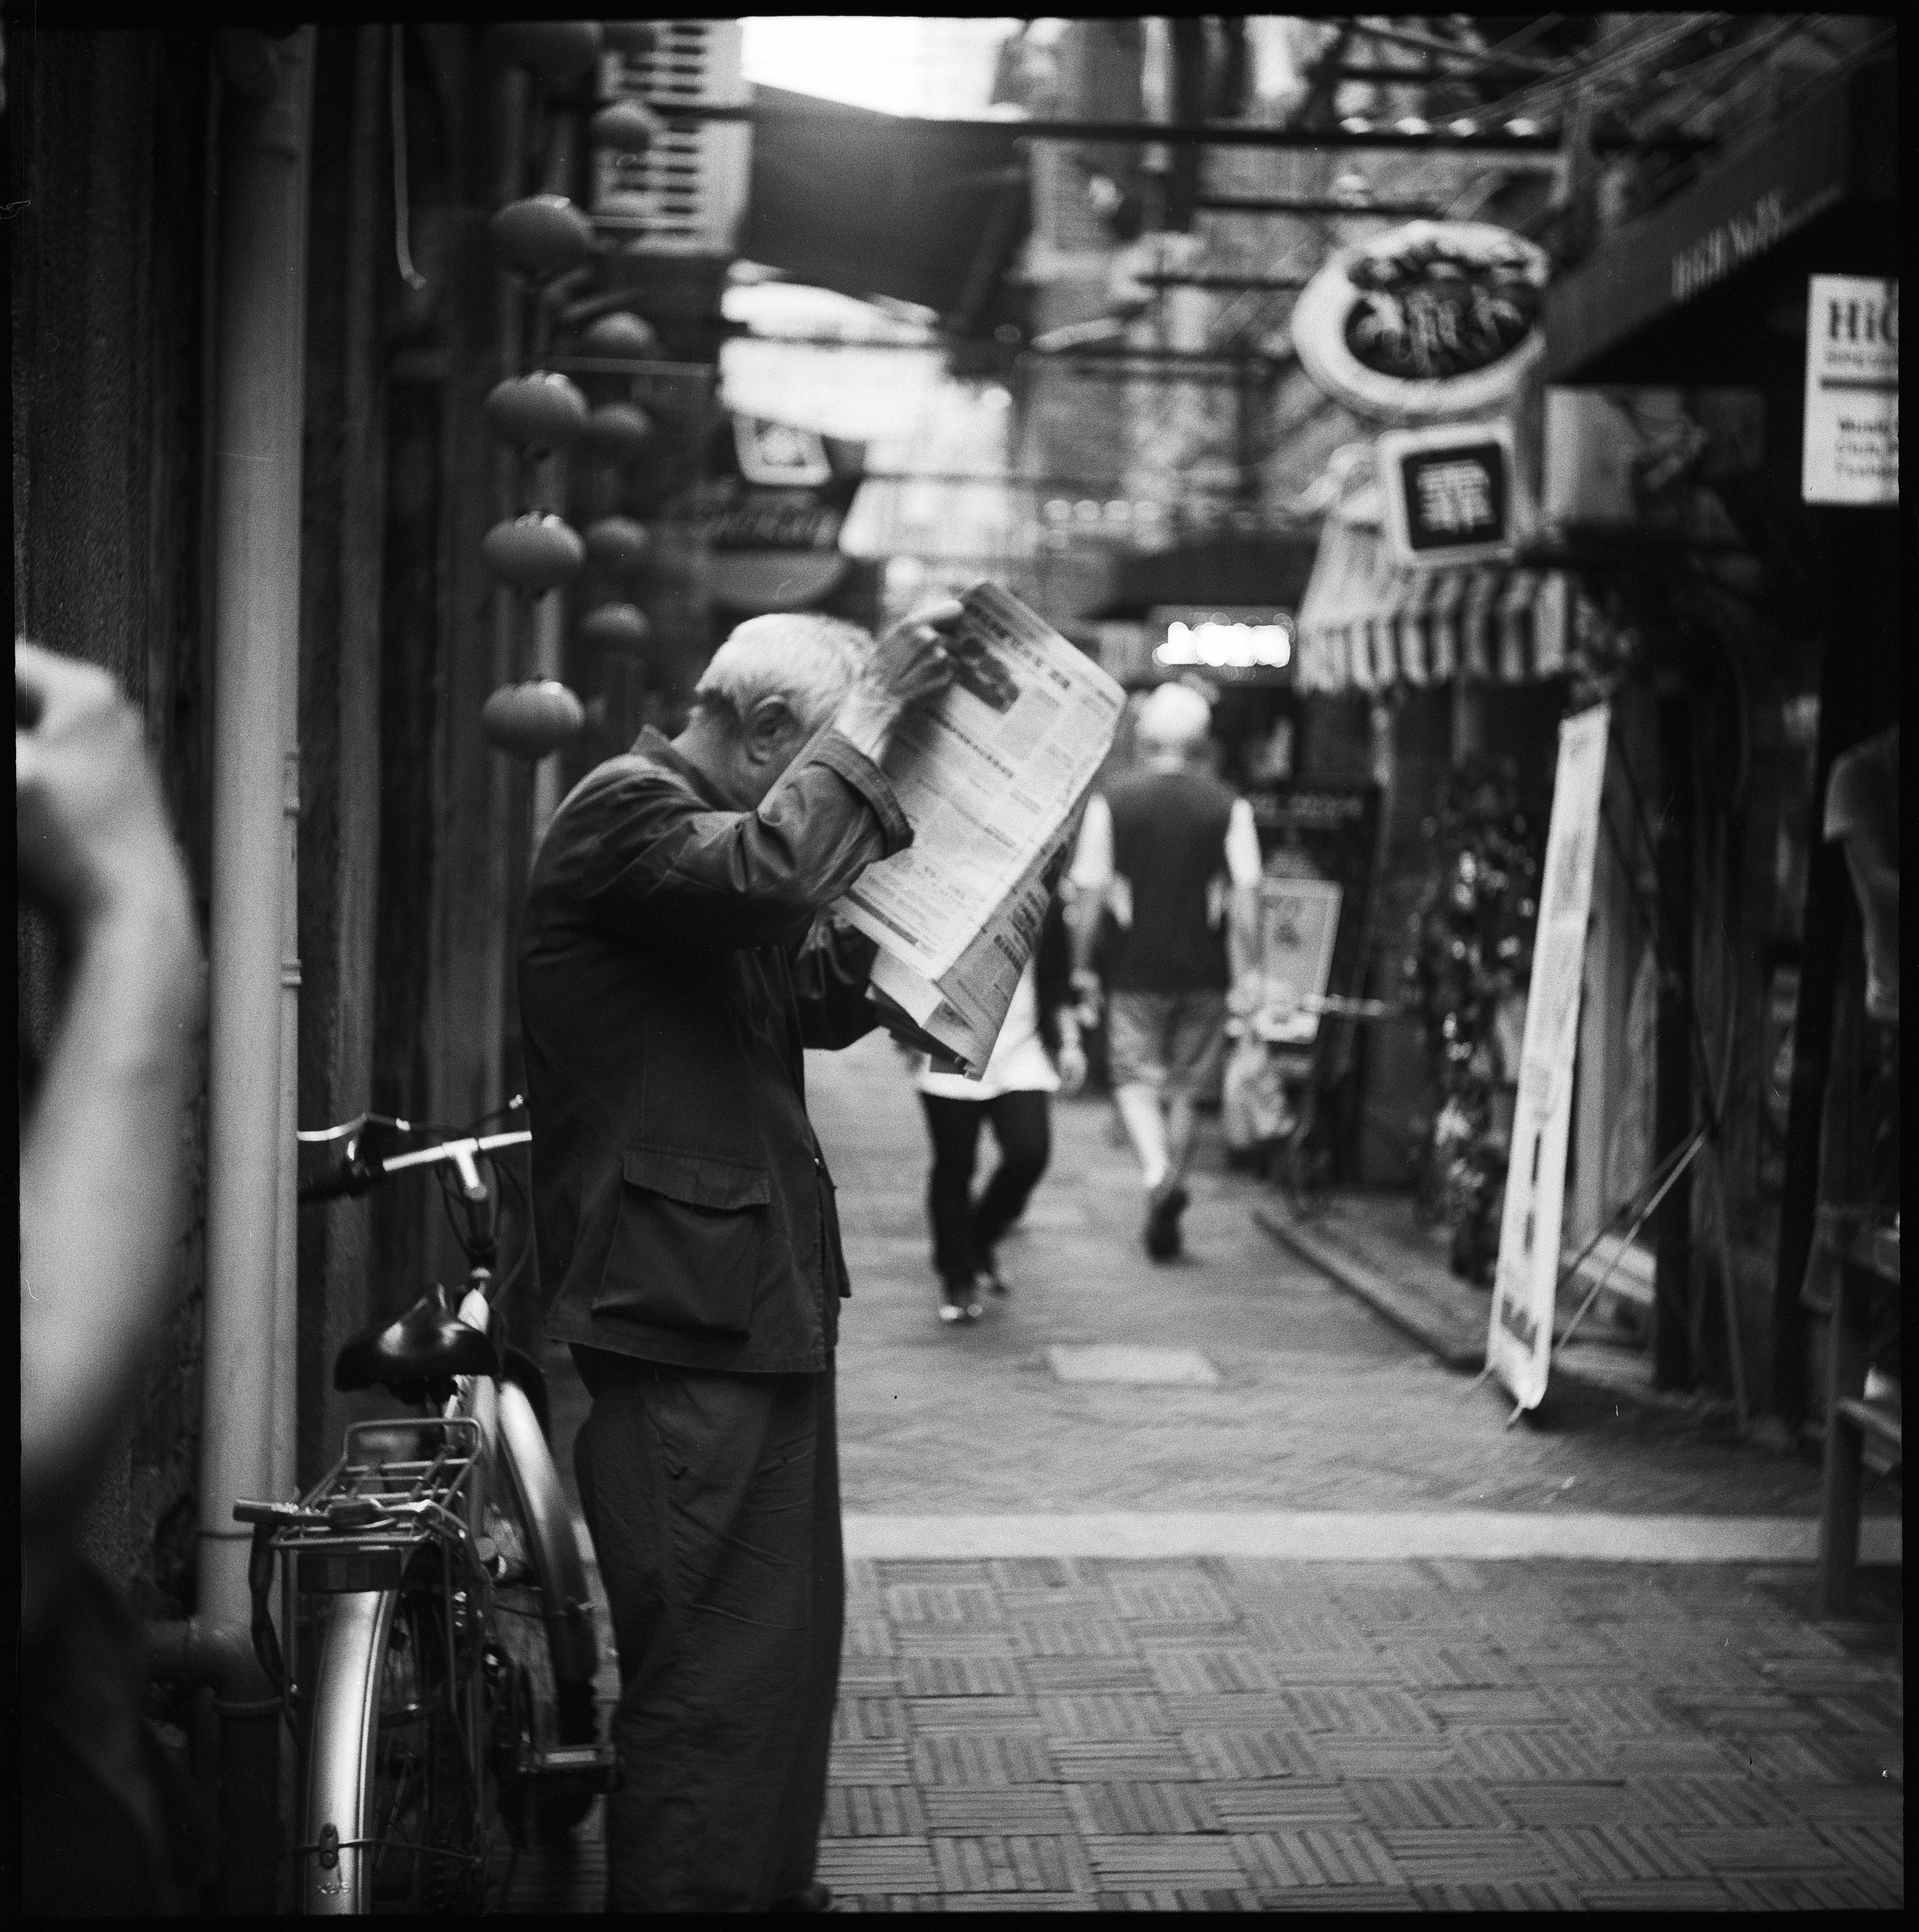
- Look for images that work as a silhouette. If you squint your eyes and still recognize the subject, it's a good candidate.
- High contrast and clear separation between figure and background. Plants against the sky, objects on a smooth surface, portraits with strong side lighting.
- Steer clear of flat midtones. A misty landscape, a gray photo taken on an overcast day, or a scene with little difference in luminosity will end up as a uniform blue blotch.
- Forget fine detail. Tiny textures, very tight patterns, and one-pixel lines get lost in the contact and in the rinse.
- Push the contrast without fear. What looks exaggerated on screen usually falls short on the paper.
Plant silhouettes, cut-out objects, architecture with strong lines, and high-contrast portraits are the classic cyanotype subjects for exactly this reason.
The process step by step
1. Choose the image
- Enough resolution: about 300 dpi at the final size of the acetate. If you're going to print at 20 × 25 cm, you need around 2400 × 3000 pixels.
- A subject that is legible in black and white, following what we've seen above.
- Lossless format: work with PNG or TIFF. A JPEG saved many times leaves a light gray noise in the smooth areas, and that noise ends up printing as little dots of toner over what should be transparent.
2. Turn it into a negative
You don't need to pay for anything. These are the most direct options:
- Go to photopea.com and drag your image into the window.
- Image → Adjustments → Black & White to convert it to grays.
- Image → Adjustments → Invert (Ctrl+I / ⌘I).
GIMP (Windows and Mac, free, installable)
- Colors → Desaturate → Desaturate to convert it to grays.
- Colors → Invert.
Windows only, if you prefer something minimal
- Paint: select the whole image (Ctrl+A), right-click on the selection and choose Invert color.
On Mac, keep in mind that Preview cannot invert: that option doesn't exist. For this particular step you'll have to use Photopea or GIMP. What Preview does do very well is the next step.
3. Clean up the whites: make them an absence of toner
This is the step that will give you the most sharpness, and the one almost everyone skips.
On a laser printer, pure white is not a color: it's paper with no toner. If an area of your negative has a very light gray value instead of absolute white, the printer will lay down a very fine screen of toner on the acetate. That screen, almost invisible to the naked eye, holds back part of the ultraviolet light. The result: washed-out, dirty blues with less separation between tones.
The goal is for the areas that should stay intense blue in the final print to be completely transparent acetate.
On Mac, with Preview
- Go to Tools → Adjust Color… (⇧⌘L).
- Move Saturation all the way to the left to leave it in grays.
- Right at the top there's a histogram with three little triangles beneath it. Drag the right-hand triangle to the left: everything to its right turns pure white, which prints with no toner.
- If you can't see the little triangles, use the sliders:
- Exposure a bit to the right.
- Highlights to the right.
- Contrast to the right.
- Raise them until the background looks clean white without losing the details.
- Another option is to click Auto Levels and touch it up afterward.
- Go to File → Export…, choose Format: PNG and save. Don't use JPEG.
If, when you open the file, the Adjust Color option appears grayed out, it means you have it open as a PDF. Export it to PNG first (File → Export…, Format: PNG) and work on that PNG.
- Open your negative in photopea.com.
- Go to Image → Adjustments → Levels… (Ctrl+L).
- Below the histogram there are three triangles. Drag the white triangle (right) to the left, up to where the right-hand peak of the histogram begins: everything to its right turns pure white.
- Drag the black triangle (left) a little to the right so the blacks are solid black.
- The middle triangle adjusts the intermediate tones for you: move it until the image reads clearly.
- Go to File → Export as → PNG and save.
If you want a pure high-contrast negative, with no midtones, use Image → Adjustments → Threshold instead and move the slider until the silhouette comes out clean. It works very well with logos, type, line drawings, and plant silhouettes.
With GIMP
- Colors → Levels, and do the same: white triangle to the left, black triangle to the right.
- For the pure mode: Colors → Threshold.
- File → Export As…, and put the .png extension in the name.
How to check you've done it right
Zoom the image to 200% and look at the areas that should be white. If you see a very faint gray or a speckling, there's still toner there: move the white triangle a little further to the left again.
And after printing, look at the acetate against the light. The light areas should look like clean plastic, with no veil. If you see a gray haze, the negative isn't ready.
4. Print the acetate
- Use acetate made specifically for laser printers. The inkjet kind melts in the fuser and can ruin the machine.
- Print on the rough or treated side if the sheet has one.
- Maximum quality (600 dpi or higher) and toner-saving mode turned off.
And that's it: negative ready.
Related videos
Videos embedded from Instagram (Meta), which may set its own cookies. They load when you reach this section.
2682
Pedazo de artículo, con todos los detalles necesarios, hasta las cuestiones informáticas, enhorabuena y GRACIAS
Gracias a ti! Quizá la parte técnica sea la más difícil de "afinar", todos sabemos qué queremos obtener pero no siempre damos con el cómo.