
11 Oct 2026
From negative to paper: exposure, washing and drying
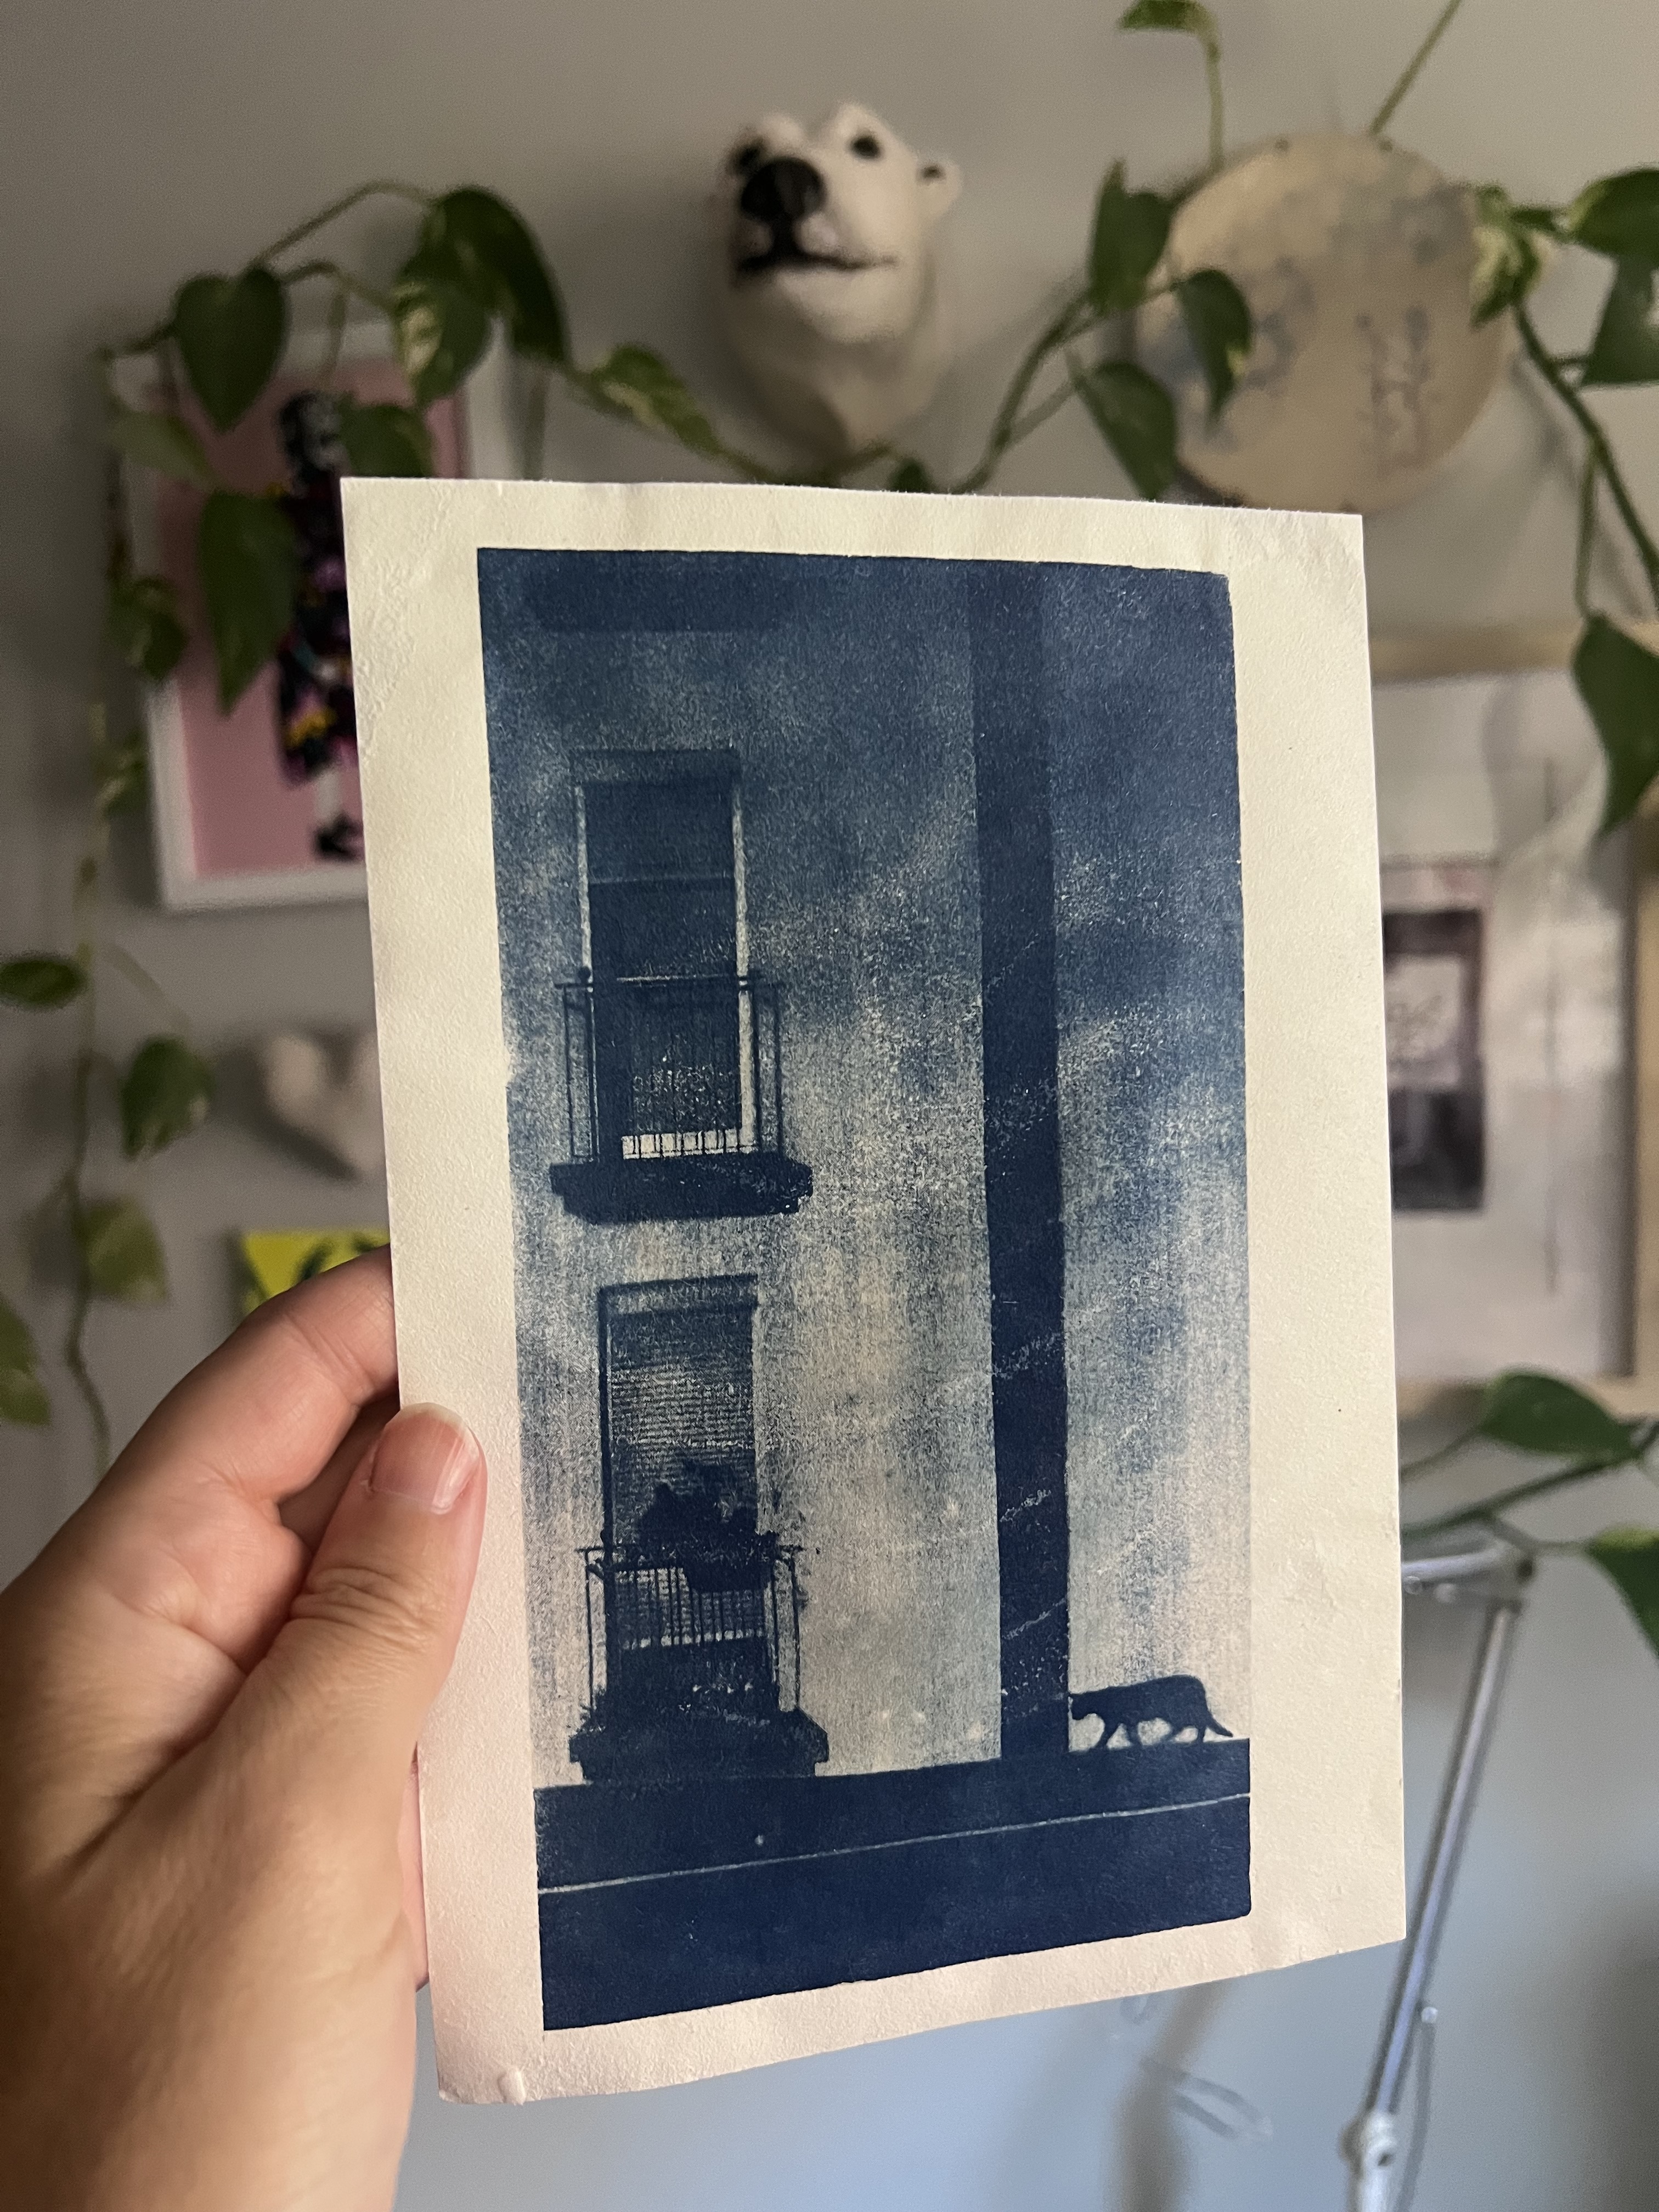
In the previous post we left the acetate fresh out of the printer, with its dense blacks and its clean, toner-free whites. Now comes the fun part: turning that negative into a blue image on paper. It's a process done with sunlight and tap water, and it barely needs any equipment, but it has a few details that make the difference between a deep blue and a washed-out smudge.
What you need
- Sensitized paper. You can buy it ready-made (the easiest way to start) or coat it yourself with the two classic salts: green ferric ammonium citrate and potassium ferricyanide, in equal parts.
- A flat brush or a glass rod to spread the emulsion.
- A sheet of glass the size of the print. The one from a cheap photo frame works perfectly.
- A rigid board and, if you can, a sheet of foam or thin felt to press from behind.
- Spring clips or tape to close the sandwich.
- A tray larger than the paper, and access to cold running water.
- Nitrile gloves and a space with some ventilation.
On Amazon you can find a very complete starter kit to start experimenting.
About safety: cyanotype is one of the most benign photographic processes there is, but potassium ferricyanide must never be mixed with strong acids, because it can release toxic gases. Work with gloves, don't eat or drink while handling the salts, and pour the water from the first wash down the drain with plenty of running water, not into the garden or a river.
Coating the paper
If you bought ready-made paper, skip this section.
- Choose a paper that can take water. Fine-grain or satin watercolour paper, 200-300 g, is the safe bet. Heavily sized papers or ones with optical brighteners give dull blues.
- Mix the two solutions in equal parts, right before using them. Once mixed, the emulsion lasts a few hours; kept separate, the solutions last months.
- Work in dim light. You don't need a darkroom: a warm bulb, away from windows, is enough. The emulsion is sensitive to UV, not to weak visible light.
- Spread it with the brush in horizontal passes and then vertical ones, until the layer is even. The typical uneven brushed edge looks great, but decide on it deliberately: if you want clean edges, mask with masking tape.
- Let it dry completely in the dark, flat or hung, for anywhere from half an hour to a couple of hours. Paper that is still damp sticks to the negative and ruins it, and it also gives blotchy prints.
A coated, fully dry sheet keeps for several days in an opaque envelope, so you can prepare several at once.
Setting up the contact
This is where you win the sharpness. The rule is simple: the better the contact between acetate and paper, the finer the line. Any gap, however small, blurs the edge, because sunlight doesn't arrive in perfectly parallel rays.
From bottom to top, the sandwich is:
- Rigid board.
- Foam or thin felt (optional, but it helps a lot to spread the pressure).
- Coated paper, treated side up.
- The acetate, with the toner in direct contact with the paper. This detail matters: the thickness of the acetate separates the image from the paper, so the printed side goes against the emulsion, not facing the sky.
- Glass on top.
- Clips on all four sides.
Check through the glass that there are no air bubbles or lifted areas. And before heading out into the sun, look at the orientation of the acetate: if your image has text, it should read backwards when seen from above. It's the easiest mistake to make and the most painful.
The exposure
Take the whole thing out into the sun and start counting. The times are a guide only, because they depend on the season, the hour, the latitude and the clouds:
- Direct summer sun, midday: 5-15 minutes.
- Winter or spring sun, mid-morning: 15-30 minutes.
- Cloudy but bright day: 30 minutes to an hour and a half. It works: UV passes through the clouds.
- UV lamp or exposure unit: between 3 and 20 minutes depending on power and distance. The good thing is that it's repeatable.
Place the sandwich as perpendicular as possible to the direction of the sun. If you leave it flat on the ground with the sun very low, the light comes in at an angle and the image loses definition at the edges.
How to read the exposure without opening the sandwich. The emulsion tells you by its colour:
- It starts yellow-green.
- Turns greyish blue.
- Then a dark blue-grey.
- And ends in a metallic bronze or brownish grey, sometimes with a matte sheen.
That bronze is the signal. It looks like a mistake, it looks overdone, but it's exactly what you're after: in the wash that bronze turns into the final blue and the rest washes away. If you take the sandwich out while it still looks pretty and blue, you've underexposed. It's the classic beginner's mistake.
If the edge of the paper is visible outside the negative, use it as a reference: when that bare edge reaches the bronze tone, you're ready.
Do a test strip. The first time with a new paper, negative or light, cut a strip of coated paper, cover it in sections with card and uncover it step by step every few minutes. Ten minutes of testing saves you three wasted prints. And note the times in a notebook with the date and hour: in two weeks you won't remember.
The wash
This has to be done in the shade or indoors, because the paper is still sensitive until the unexposed salt is removed.
- Take the sandwich apart and separate the acetate. Keep it: it can be reused dozens of times. If it got wet, dry it with a soft cloth without rubbing the toner.
- Submerge the paper in plenty of cold water, or hold it under the tap at low pressure. Never hot water.
- You'll see the water turn yellow-green. That's the iron salt that didn't react, washing away. Change the water two or three times.
- Keep washing for 5 to 10 minutes, until the water runs completely clear. If you cut it short, yellowish stains appear over time in the white areas.
- No soap, detergent or bleach. Cyanotype is very sensitive to anything alkaline: Prussian blue fades. If the water in your area is very hard or alkaline, add a splash of vinegar to the final rinse.
During the wash the image seems to lose strength and doubt will creep in. That's normal. Wait.
Oxidation: the blue takes its time
Freshly washed, the print usually looks a greyish, almost timid blue. Prussian blue needs to oxidize to reach its full intensity, and that happens on its own, in contact with the air, over the following 12 to 24 hours. Don't judge a print until the next day.
If you're in a hurry or want to see it now:
- A bath of water with a splash of vinegar or a pinch of citric acid speeds up the process and usually leaves the whites cleaner.
- Very diluted hydrogen peroxide (a spoonful of the pharmacy kind in a litre of water) makes the blue jump out instantly. It's spectacular to watch, though the final density barely changes compared to simply waiting. Rinse with clean water afterwards.
The drying
- Drain without rubbing. Let it drip held by one corner, or rest it on a rack.
- Dry it flat, on a mesh, an oven rack or blotting paper. Hanging also works, but it can leave a clip mark.
- In the shade. Drying in the sun improves nothing and can give uneven tones.
- Flatten it at the end. Watercolour paper ends up wavy. Leave it overnight between two smooth boards with some weight on top, or iron it from the back with a cloth in between and the iron warm, no steam.
Most common problems
- Pale, lifeless blue: you underexposed, or the negative had a toner veil in the areas that should have been transparent. Review the clean-whites part of the previous post.
- The image almost entirely washes away: too short an exposure, or paper that was still damp when exposed.
- All dark blue with no detail: extreme overexposure, or the negative's blacks were too weak to block the light. Try two acetates stacked.
- Yellow stains that appear days later: insufficient washing.
- Dirty or greyish whites: alkaline water, or emulsion spread on unsuitable paper.
- Blurry edges: poor contact between acetate and paper, or sun too low and angled.
Keeping them
Store your prints away from prolonged direct light and alkaline environments: no untreated cardboard mounts and no glass cleaner near the frame. Curiously, a cyanotype that has faded from too much light largely recovers if you keep it in the dark for a few days. It's one of the most reversible photographic processes there is, and one of the reasons Anna Atkins's prints are still blue almost two centuries later.
In the next post in the series I'll bring you a troubleshooting guide: symptom by symptom, what went wrong and how to fix it.
Related videos
Videos embedded from Instagram (Meta), which may set its own cookies. They load when you reach this section.
40
Comments(0)
No comments yet. Be the first to write one!