
03 Jan 2024
Terra Sigillata: Discovering Ancient Beauty
Pottery has been a form of art and cultural expression since time immemorial. Among the most fascinating and emblematic varieties is Terra Sigillata, a fine ceramic that dates back to ancient Rome and still captivates with its beauty and sophistication.
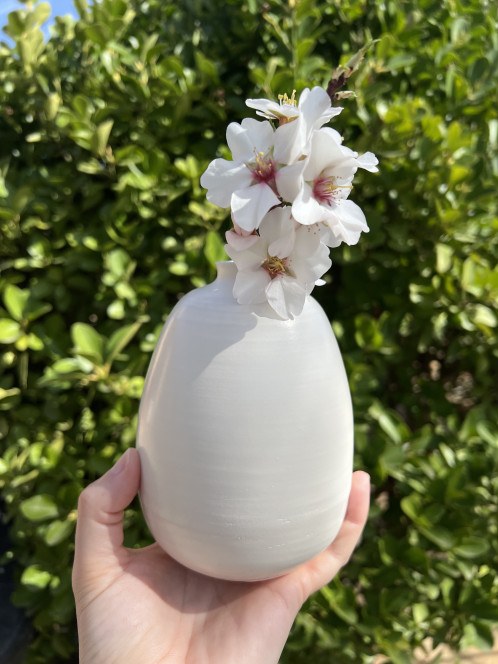
In this article, we'll explore what Terra Sigillata is and how it's made, uncovering the secrets of this age-old technique.
What is Terra Sigillata?
Terra Sigillata, also known as red-slip pottery, is a type of fine ceramic produced in ancient Rome between the 1st century BC and the 3rd century AD. Characterized by its bright red color and polished surface, Terra Sigillata became a highly prized luxury item throughout the Roman Empire. Used mainly for making tableware and everyday objects, this pottery reflected the refinement and good taste of Roman society.
The Making Process
Making Terra Sigillata was a meticulous process that required skill, patience, and experience. The main steps are described below:
- Preparing the Clay: The process began with selecting and preparing the right clay. It had to be high quality and rich in minerals to ensure the strength and fineness of the finished ceramic.
- Shaping: Once the clay was prepared, the piece was shaped. Roman potters used techniques such as the potter's wheel and hand-modeling to form plates, bowls, jugs, and other utensils.
- Drying: After shaping the piece, it was left to dry in the open air or in special kilns. This process could take several days and was crucial to prevent cracks or warping during firing.
- Decoration: Once dry, the piece was decorated with ornamental motifs using stamps or molds. These decorations could include geometric figures, mythological scenes, or simply abstract patterns.
- Firing: The final step was firing the ceramic in special kilns at high temperatures. During this process, which could last several hours, the clay hardened and took on its characteristic red color. The surface of the ceramic also became smooth and glossy thanks to the effect of the slip used.
- Finishing: Once fired, the piece was left to cool before applying a final finish, which could include additional polishing to bring out its natural shine.
Recipe
For the piece that illustrates this post, the following recipe was used:
- 600 g of rainwater.
- 257 g of ball clay or English clay (to obtain a white-colored slip)
- 2.6 g of sodium silicate. You can use another deflocculant, though the proportion may vary.
These proportions yield approximately 500 g of terra sigillata.
Process for Making the Sample
In a container holding the rainwater, add the ball clay without stirring (let it dissolve slowly) and leave it to rest for several days.
Add the sodium silicate directly to obtain a liquid emulsion.
Leave it to rest for a week to obtain a container with 3 layers:
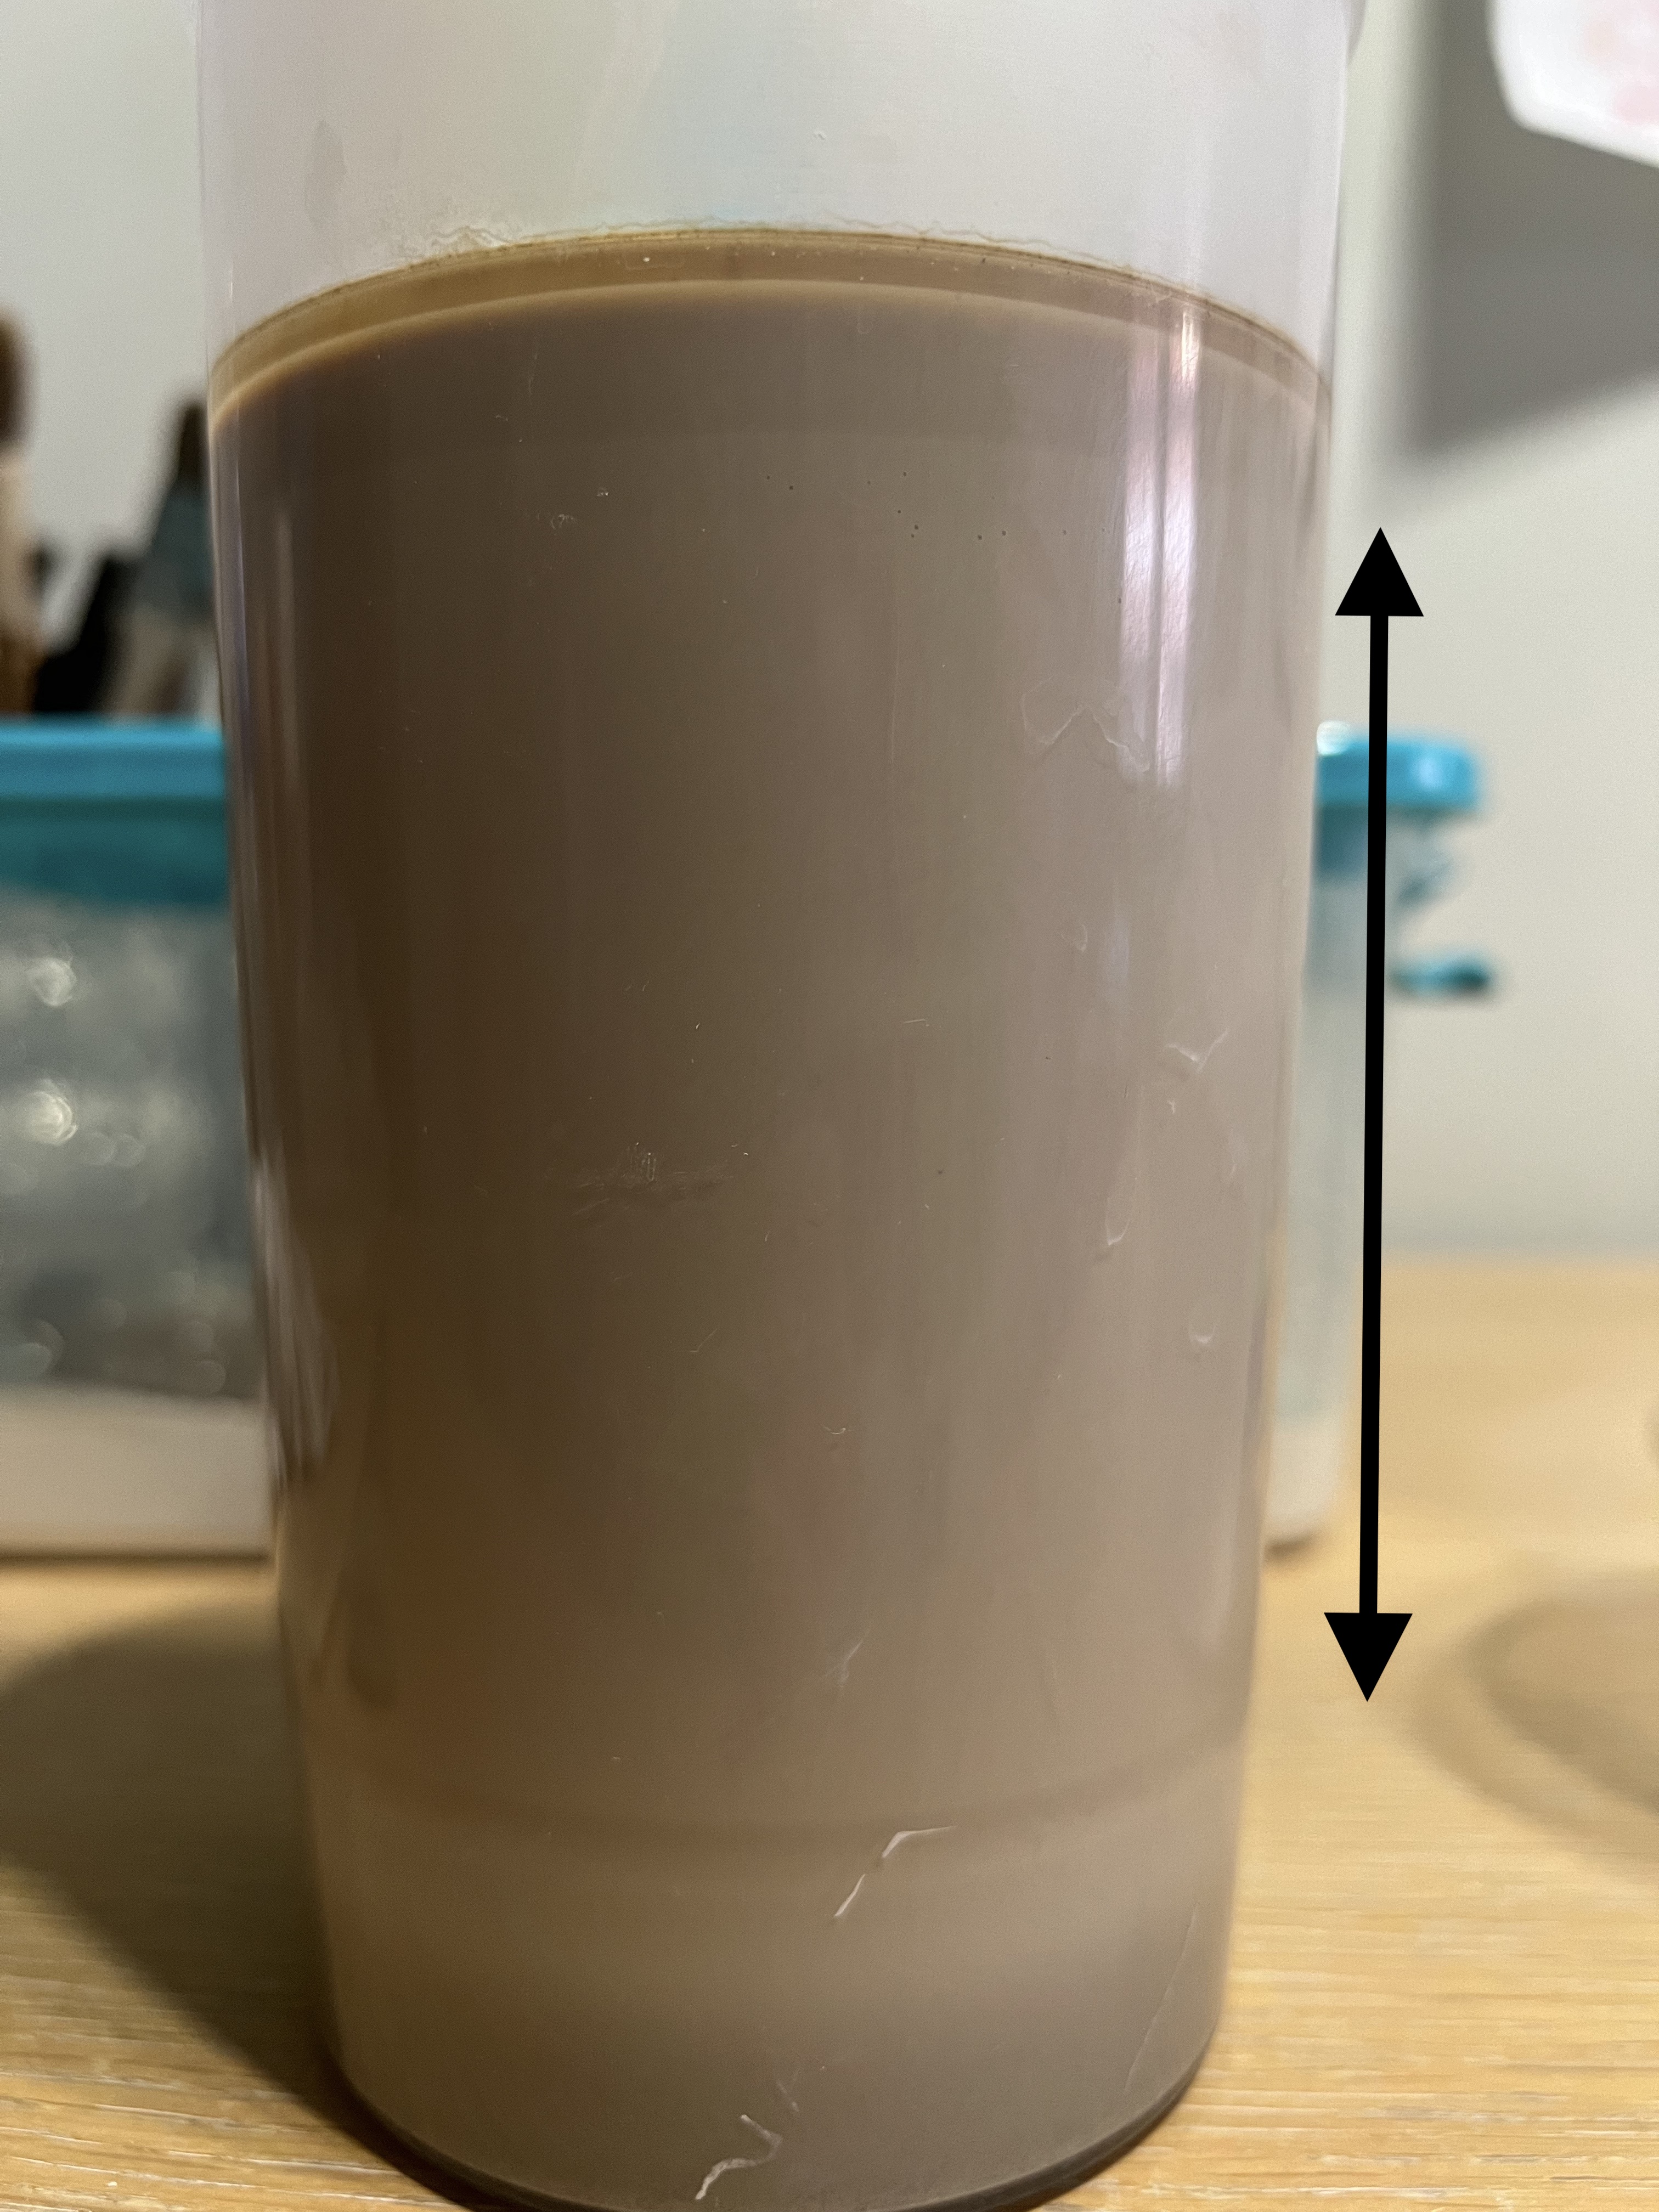
After this time, you'll be able to separate the middle layer using the siphon technique. You can refine the clay 2 or 3 times (the same process with the top layer) to obtain a terra sigillata with finer particles.
Apply 4 coats of terra sigillata with a spray gun or a brush on the wheel.
Leave it to dry and burnish it with your hands or with a dry piece of plastic before applying the next coat.
11020
Comments(0)
No comments yet. Be the first to write one!